A well-primed well pump is essential for ensuring an uninterrupted water supply from a well.
However, knowing how to prime a well pump can seem difficult if you’re not used to the process or have problems with it. In a nutshell, priming a pump is a vital maintenance task that helps make sure your water supply system is operating correctly.
When your pump loses its prime, it often means that water has been removed from the system and needs to be replaced to keep running correctly. In this professional guide, we’ll take you step-by-step through priming a well pump, showing you a few safety measures and troubleshooting advice.
If you need help, don’t hesitate to contact us at Clover Contracting.
Knowing the Principles of Well Pump Priming
Before learning how to prime a well pump, it’s essential to know the critical components involved in the process.
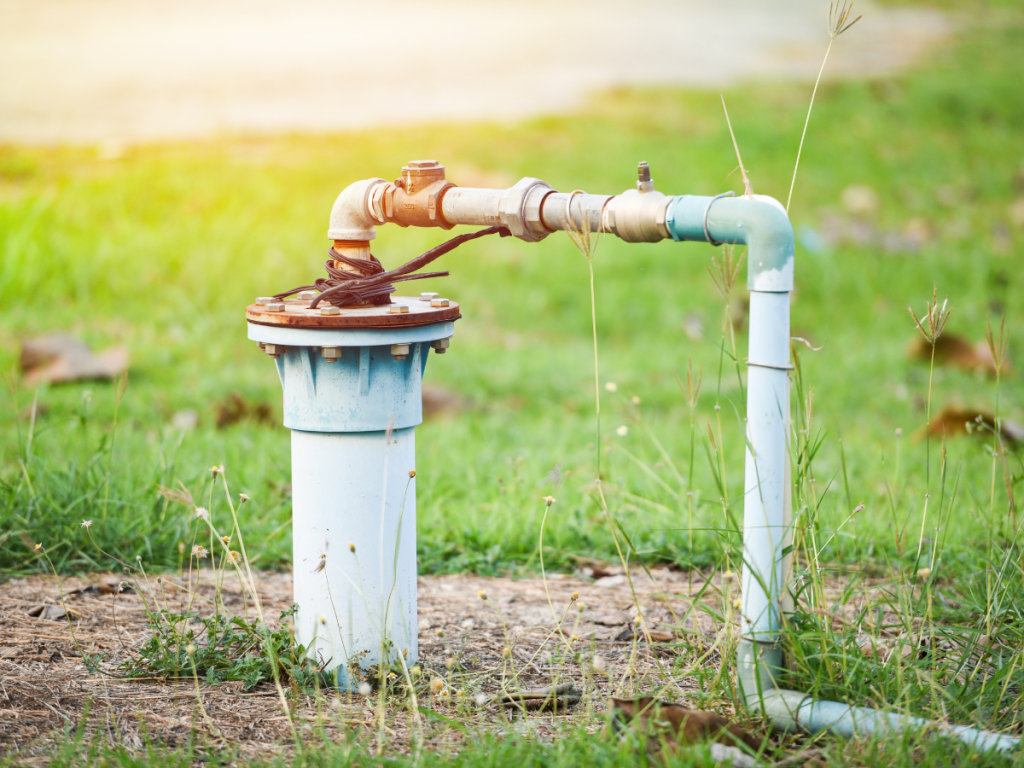
A well pump system consists of the pump itself, the suction hose that links the pump with the well, and the pressure tank which holds and distributes the water. After the water has been pumped out, a unique foot valve at the end of the suction pipe prevents it from flowing back into the well.
However, when the pump loses its prime, air can enter the suction line, halting the water flow. To restore the required pressure, the pump must be primed again, often involving getting rid of the air and swapping it with new water. Ensure you also get used to the specific directions in your well pump’s manufacturing manual because different pumps often use slightly different priming methods.
If you plan to keep the well pump running for a long time – as many homeowners do – schedule regular maintenance appointments and set aside some time to check and prime it. It can ensure the proper functioning of your well pump and help prevent issues like losing its prime. If you need help with the priming process or have questions, contact our team at Clover.
1. Get the Necessary Equipment and Supplies
As with many mechanical tune-ups and procedures, when learning how to prime a well pump, there are a few tools and supplies you’ll need to gather.
These typically consist of a garden hose, a bucket of water, pliers or a wrench for opening and closing valves, and a screwdriver for some models. Before you start the priming process, make sure you have all the tools you need ready or nearby.
2. Examine the Power Supply and the Pressure Tank
Avoiding any electrical accidents is critical. When learning how to prime a well pump with a pressure tank, the first step is to turn off the power supply.
Check the tank’s pressure to ensure it’s set to the proper pressure. A pressure gauge on top or somewhere on the sides usually shows the pressure level. If the pressure is too low or high, change it based on the manufacturer’s suggestions.
3. Find Your Pump’s Priming Port
Priming ports, also called priming tees or priming plugs, are small openings in many well pumps explicitly created for the priming procedure. Look for this port on your pump since most of the work will be done here. As always, consult your pump’s user manual or ask one of our team members if you need clarification on the exact spot before priming the well pump.
4. Run Water Through the Suction Line
With the power still off, remove the cover once you’ve found it and connect a garden hose to the port. Put the hose’s other end in a water-filled bucket, then turn on the water.
Allow the water to flow through the hose until the suction line is filled and the priming port begins to work again. This procedure, referred to as “back priming,” helps release any trapped air inside the line.
5. Start the Pump up and Monitor Its Pressure
Once the suction tube is full of water, start the pump by turning on the power source, then watch the pressure rise as it’s shown on the pressure tank’s pressure gauge. The pump may take some time to return to its normal pressure, so keep running. The priming procedure is done as soon as the water flows into the pressure tank.
6. Check for Leaks and Make Sure the System Works
Once you’re done, check the system thoroughly for leaks by checking all the fittings, valves, and connections. Give them a light push or twist to ensure they’re tight and secure since water can easily break them if the pressure increases.
If you find any leaks or loose parts, fix them immediately to prevent future issues and get proper water flow. If you’re unsure about how to resolve the issue, we recommend booking an appointment with a professional plumber to help you fix the problem.
You can also turn on faucets or other water outlets nearby to check the water flow once you’ve ensured the pump is operating correctly and supplying water. It will also show you signs that your well pump isn’t priming and you should start the process again.
Tips for Troubleshooting
- If the suction line or foot valve of your well pump is blocked or obstructed, your well pump won’t prime properly or at all. To fix the issue, remove whatever’s blocking the water from moving.
- When priming well pumps, ensure the foot valve’s in good shape and working as they should be. If you need to ensure proper suction, replace it if it fails or shows signs of wear.
- To properly recover the pump’s prime, you should sometimes do the priming procedure multiple times. Be patient and keep trying, especially when the pump has not been used.
Takeaway
Homeowners who depend on groundwater for their everyday needs, should know how to prime well pumps. By adhering to our guide on priming, you can ensure your system works correctly and prevent future problems like prime loss and reduced water flow.
Always pay close attention to the step-by-step instructions and tips, like looking for air leaks to help resolve any potential issues that might pop up. However, it’s always a good idea to look for professional help from our team at Clover Contracting if you run into problems or have questions about any part of the priming process.
You can visit the following link and book an appointment with Clover services to ensure routine maintenance and priming so that your well pump works appropriately and you have a steady water supply for years to come.


